In this post, I will help you to configure OpenVPN client on your local machine (both windows and linux)
1. Login to OpenVPN server either using putty or terminal and switch as root user
2. Crete Keys and certificates for client machine
# cd /etc/openvpn/easy-rsa/
# source ./vars
# ./build-key client1


NOTE : All keys and certs will be saved in /etc/openvpn/easy-rsa/keys/ folder. If you need multiple clients, repeat the creation process , just change the key name from client1 to client2, client3, and so on
3. Configure OpenVPN client on windows machine
Download keys and certficates from OpenVPN server to your windows machine
- Create a new folder in your local machine
- Download key (client1.key) and certificates (ca.crt and client1.crt) and put them in newly created folder
Create client configuration file
- Create a new file with the extension ovpn in the new folder which you crated above with the following lines
client
dev tun
proto udp
remote 19.168.1.101 1194
resolv-retry infinite
nobind
persist-key
persist-tun
ca ca.crt
cert shafeeq.crt
key shafeeq.key
ns-cert-type server
comp-lzo
verb 3
sndbuf 0
rcvbuf 0
19.168.1.101 : The IP of OpenVPN server
1194 : The port on which OpenVPN server listening
Download and install OpenVPN client
- Click Here to download the openvpn client package for windows
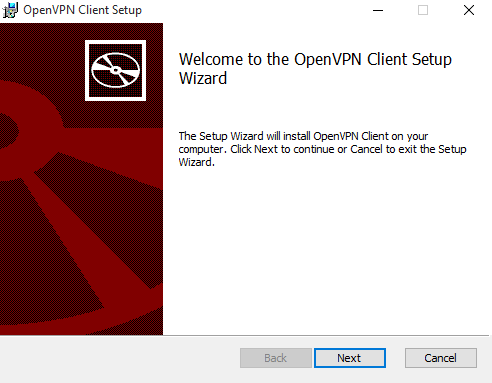
- Double click on downloaded file , it will start the installation procedure. Click Next
- Accept License Agreement and click Next

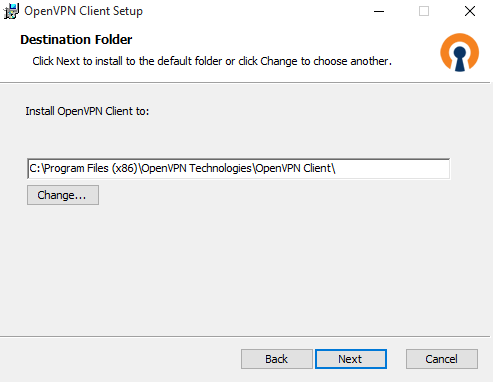
- Select Destination folder and click Next
- Click Install

- Select Launch OpenVPN Client and click Finish

- Once the client software launched, click + icon on connection profiles as shown in image

- Select Local File and click Import

- Navigate to the folder where you created ovpn file and select appropriate ovpn, and click Open

- Provide a name for your connection and click Save

- Now you can see that a connection profile has been created with the provided name
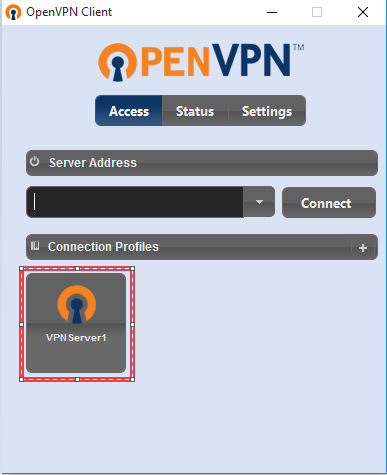
- To connect to VPN server , click on the newly created profile name

Done !! Now your machine has been connected to VPN.
4. Configure OpenVPN client on Linux machine (CentOS 6.8)
Install EPEL repository
# rpm -Uivh http://dl.fedoraproject.org/pub/epel/6/x86_64/epel-release-6-8.noarch.rpm
Install OpenVPN Client package
# yum install openvpn -y
Download keys and certficates from OpenVPN to your linux machine
- Create a new folder in your local machine
- Download key (client1.key) and certificates (ca.crt and client1.crt) form OpenVPN Server and put them in newly created folder
Create client configuration file
- Create a new file with the extension ovpn in the new folder which you crated above with the following lines
client
dev tun
proto udp
remote 19.168.1.101 1194
resolv-retry infinite
nobind
persist-key
persist-tun
ca ca.crt
cert shafeeq.crt
key shafeeq.key
ns-cert-type server
comp-lzo
verb 3
sndbuf 0
rcvbuf 0
19.168.1.101 : The IP of OpenVPN server
1194 : The port on which OpenVPN server listening
Connect to OpenVPN server
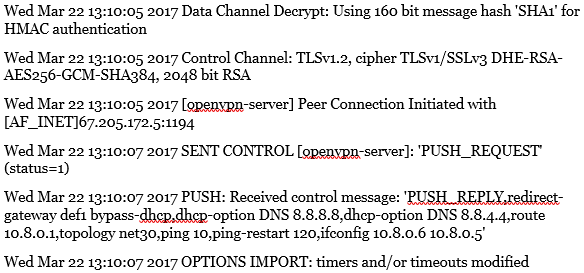
# openvpn –config /home/linuxyou/client1.ovpn
/home/linuxyou/ : The folder path where we saved the cert, key and ovpn files.
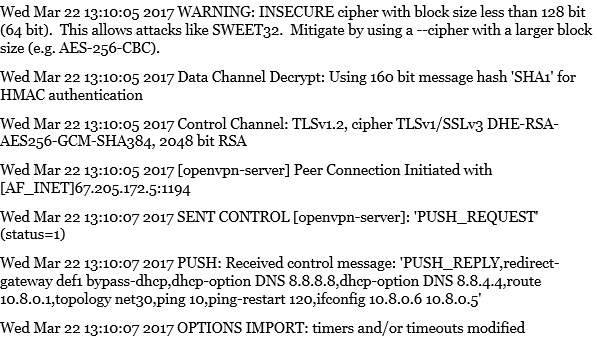
The output of above as shown in image :


Done !!